Home » Paver Installation in the South Bay: Why Cheap Quotes Fail
Get Your Free Estimate
Fill out the form below. We reply within 24 hours.
ON THIS PAGE
- Paver installation
Paver Installation in the South Bay: Why Cheap Quotes Fail
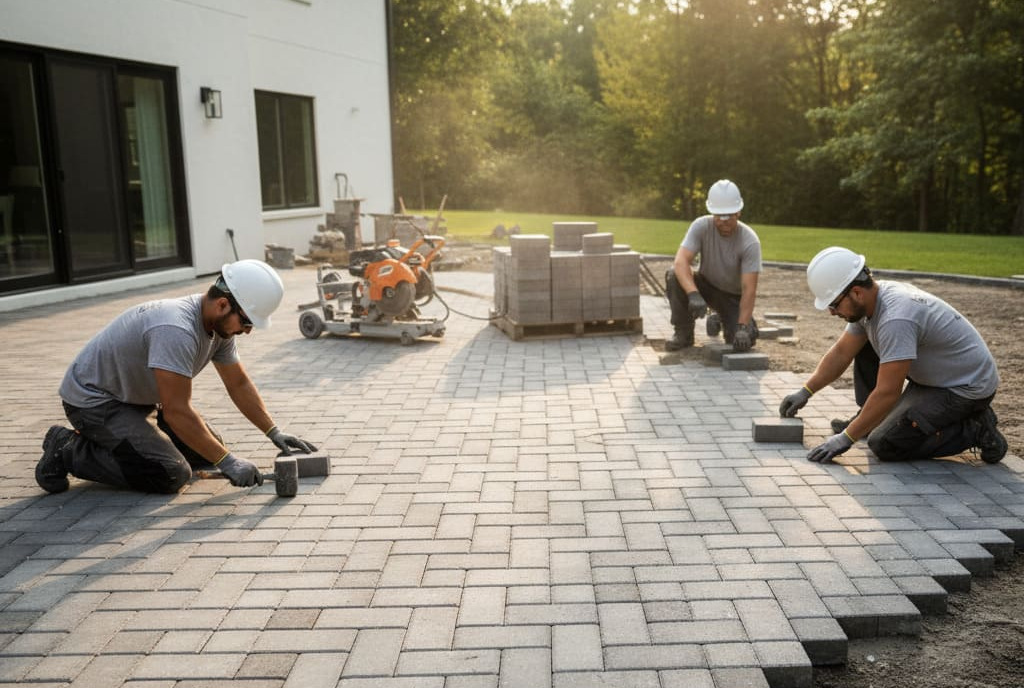
A paver patio or driveway is the ultimate upgrade for a South Bay home. Whether you are replacing a cracked concrete driveway in Torrance or building a modern entertainment deck in Manhattan Beach, pavers offer an elegance and durability that asphalt simply cannot match.
But I’ve seen it happen a hundred times: A homeowner spends a fortune on beautiful, high-end pavers, only to watch their new patio turn into a lumpy, sinking, weed-filled mess in just two years.
When you search for “paver installation,” you aren’t just hiring someone to lay pretty stones. You are hiring them to build the 10-inch-deep engineering system that lives under those stones. At GAGA US Construction, we know that base preparation is 80% of the job. The pavers are just the 20% you see.
Here is the professional, 7-step process we use to guarantee a paver project lasts for decades, specifically tailored for the soil conditions of Southern California.
The “Iceberg” Concept
Think of your driveway or patio like an iceberg. The beautiful pavers you walk on are just the tip. The massive, structural strength lies hidden beneath the surface. If that hidden section is weak, the tip will sink.
Amateur contractors or “low-bid” handymen often skip Steps 2, 3, and 5 to save money. This is exactly what separates a 2-year patio from a 30-year patio.
Step 1: Excavation (The South Bay Challenge)
This is the back-breaking work. We cannot build on top of grass or topsoil. Topsoil is full of organic matter that will decompose, rot, and shrink over time. We must surgically remove it all.
- For a Patio: We excavate down 7-9 inches.
- For a Driveway: We excavate down 10-14 inches (to handle the weight of SUVs and EVs).
- Local Context: In the Beach Cities, we are often digging in pure sand. We use specialized narrow-access equipment to get into tight backyards without damaging your property.
Step 2: Geotextile Fabric (The Sandy Soil Secret)
This step is critical for South Bay homeowners. If you live in an area with sandy soil, your ground is “soft.” If we dump gravel directly onto sand, the heavy gravel will eventually sink into the sand.
The GAGA Standard: We install a layer of heavy-duty Geotextile Fabric at the bottom of the pit. This fabric acts like a hammock. It separates the native soil from our new gravel base, ensuring they never mix. Most budget contractors skip this step, costing you thousands later.
Step 3: The Sub-Base (Class 2 Road Base)
This is the true foundation. We import tons of Class 2 Recycled Road Base—a mixture of 3/4-inch crushed rock and “fines” (stone dust). When compacted, it becomes almost as hard as concrete but remains flexible enough to withstand earthquakes without cracking.
Step 4: Compaction (The Muscle)
We cannot just rake the gravel flat. We must remove the air pockets using a heavy-duty industrial Vibratory Plate Compactor.
The “Lift” Method: We never dump all 6 inches of gravel at once. We do it in “lifts” of 2-3 inches. We spread 3 inches, compact it, add 3 inches, and compact again. This ensures the base is rock-solid all the way to the bottom.
Step 5: Bedding Sand (The Screed)
On top of that hard-packed gravel, we spread a precise 1-inch layer of coarse concrete sand.
Expert Tip: We do not use beach sand! Beach sand is round (like marbles) and will roll. We use “angular” sand that locks together. We then “screed” (smooth) this layer until it is glass-smooth. This is the soft pillow that the pavers will sit on.
Step 6: Laying the Pavers & Edge Restraints
Now, the fun part. We lay the pavers in your chosen pattern. For driveways, we often recommend a Herringbone pattern to prevent shifting under car tires.
Before we finish, we must install the border. In soft soil areas, we often prefer a Concrete Bond Beam—a hidden wedge of concrete buried underground that cements the border pavers in place forever. It is far superior to the plastic spikes used by many competitors.
Step 7: Locking it Down (Polymeric Sand)
The job isn’t done! To lock the pavers into a single, monolithic surface, we use Polymeric Sand. This is a high-tech sand mixed with binding agents.
- We sweep the sand into every joint.
- We run the plate compactor over the top of the pavers to vibrate the sand deep into cracks.
- We gently mist the patio with water to activate the polymers.
The Result: Within 24 hours, the sand hardens into a flexible, rubber-like grout that blocks weeds and ants.
A Note on Permeable Pavers (Local Code)
Many South Bay cities (especially Manhattan Beach and Santa Monica) have strict “lot coverage” rules. The solution? Permeable Pavers. These are installed with a base of open rock that allows rainwater to drain through the pavers and back into the earth, satisfying city codes.
Conclusion: Build It Once, Build It Right
A paver patio is a system. If a contractor gives you a price without measuring slope or mentioning base depth, run. A cheap bid almost always means they are skipping the excavation or the geotextile fabric.
At GAGA US Construction, we build for the South Bay lifestyle. We build bases that withstand our sandy soil and our active lives. Ready to upgrade your curb appeal? Contact us today for a consultation.
Frequently Asked Questions
Let's Build Something Lasting
Stop searching and start building. If you are ready to secure your home and boost your curb appeal, let’s talk. We are currently booking for the 2026 season.